

Week 1 prompt: Monotype (#PYH2024)
In February, with Paint Yourself Happy February, we are sharing creative prompt with you, inviting play in your art practice. This is week one prompt: monotypes. Read on for inspiring ideas to try!


We are kicking off this month’s explorations with a favorite prompt: monotype. This one was a prompt from back in 2021 and it lead to quite a few abundant art making days. Once you start, it can be difficult to stop!

What is monotype?
Monotype is a technique that consists of putting paint down on something non absorbent (plexiglass, plastic wrap, etc) and then putting your paper over the plexiglass and transferring the paint onto it.
The mono stands for “one”, in that one you put the paper over the sploshes of color, you have one unique print. In that, monotype is considered a printing technique.
It is different from monoprint, in which there is usually something you can print a number of times (an engraving or something you can reproduce), but with each print in the series having something different (different colors, changing the engraving, etc).
While this idea of monotype seems simple, it make for a lovely prompt to play for hours while trying new things. And you can definitely make it a little more challenging for yourself, for example by drawing something on a gelli plate that you could then print on paper.


Top: The state of my desk while having a monotype art session.
Bottom: Vinyl paints (left), indigo watercolor (right)
The prompt
In its simplest expression, the prompt is make a monotype print.
Now the real challenge could be, make only one! ;)
Every time I begin playing with these, I end up with an impressive pile of art bit. Not everything is incredible. I totally get lost into this process and that is always a sign of something interesting.
Back to the prompt.
1. Find something that is none absorbent: plexiglass, the glass from a picture frame, a plastic wrapping, yupo paper.
2. Put a few drops of color on it, a little apart. They might mix, or stay put, depending on the paper you transfer them too and how liquid these drops are.
3. Put a paper over the colors (a watercolor paper, mixed media or something totally different) and rub the paper a little, so the colors mix. You can even move the paper around a little to make everything smoosh!
4. Remove the paper and tadam! You have a monotype.
5. You can leave it to dry, or you can play with the colors on the paper while it is still wet. Or add something to it, play with the colors on paper, draw something.

Indigo, coffee and copper watercolors on Khadi paper.
Some inspiration and ideas to explore
Over the past few days, I’ve played quite a bit with this process, and want to share with you some ideas to try on your own.
Watercolors and plexiglass
This was the original prompt from back in 2021. Drop some watercolors onto a plexiglass, put a paper over them and let the colors mix and play.
A few tips:
Play with the quantity of water to see what you prefer. Lots of water and everything will mix. Very concentrated water on the other hand will not spread as much.
Once you have the “print”, you can still add pops of colors in the still wet paint if you need to touch up.
Try wetting the paper beforehand and use tube watercolors without water (or with very little.
While mulling paint
After you finish mulling watercolor paint, you often still have quite a bit of pigment left on your slab, even when trying to scrape everything off. And that glass slab is just wonderful for making monotypes!
A few tips:
Scrape the leftover pain a little in on area to get a more concentrated paint.
Alternatively, spray your slab to get all the little bits of color off the slab and onto your paper. Be careful when pressing on the page, you might end up with lots of colored water seeping out!
Muller prints… need I say more? The prints you can make with your muller full of paint. Honestly, I’ve often made watercolor paint for the primary purpose of making monotypes and muller prints!
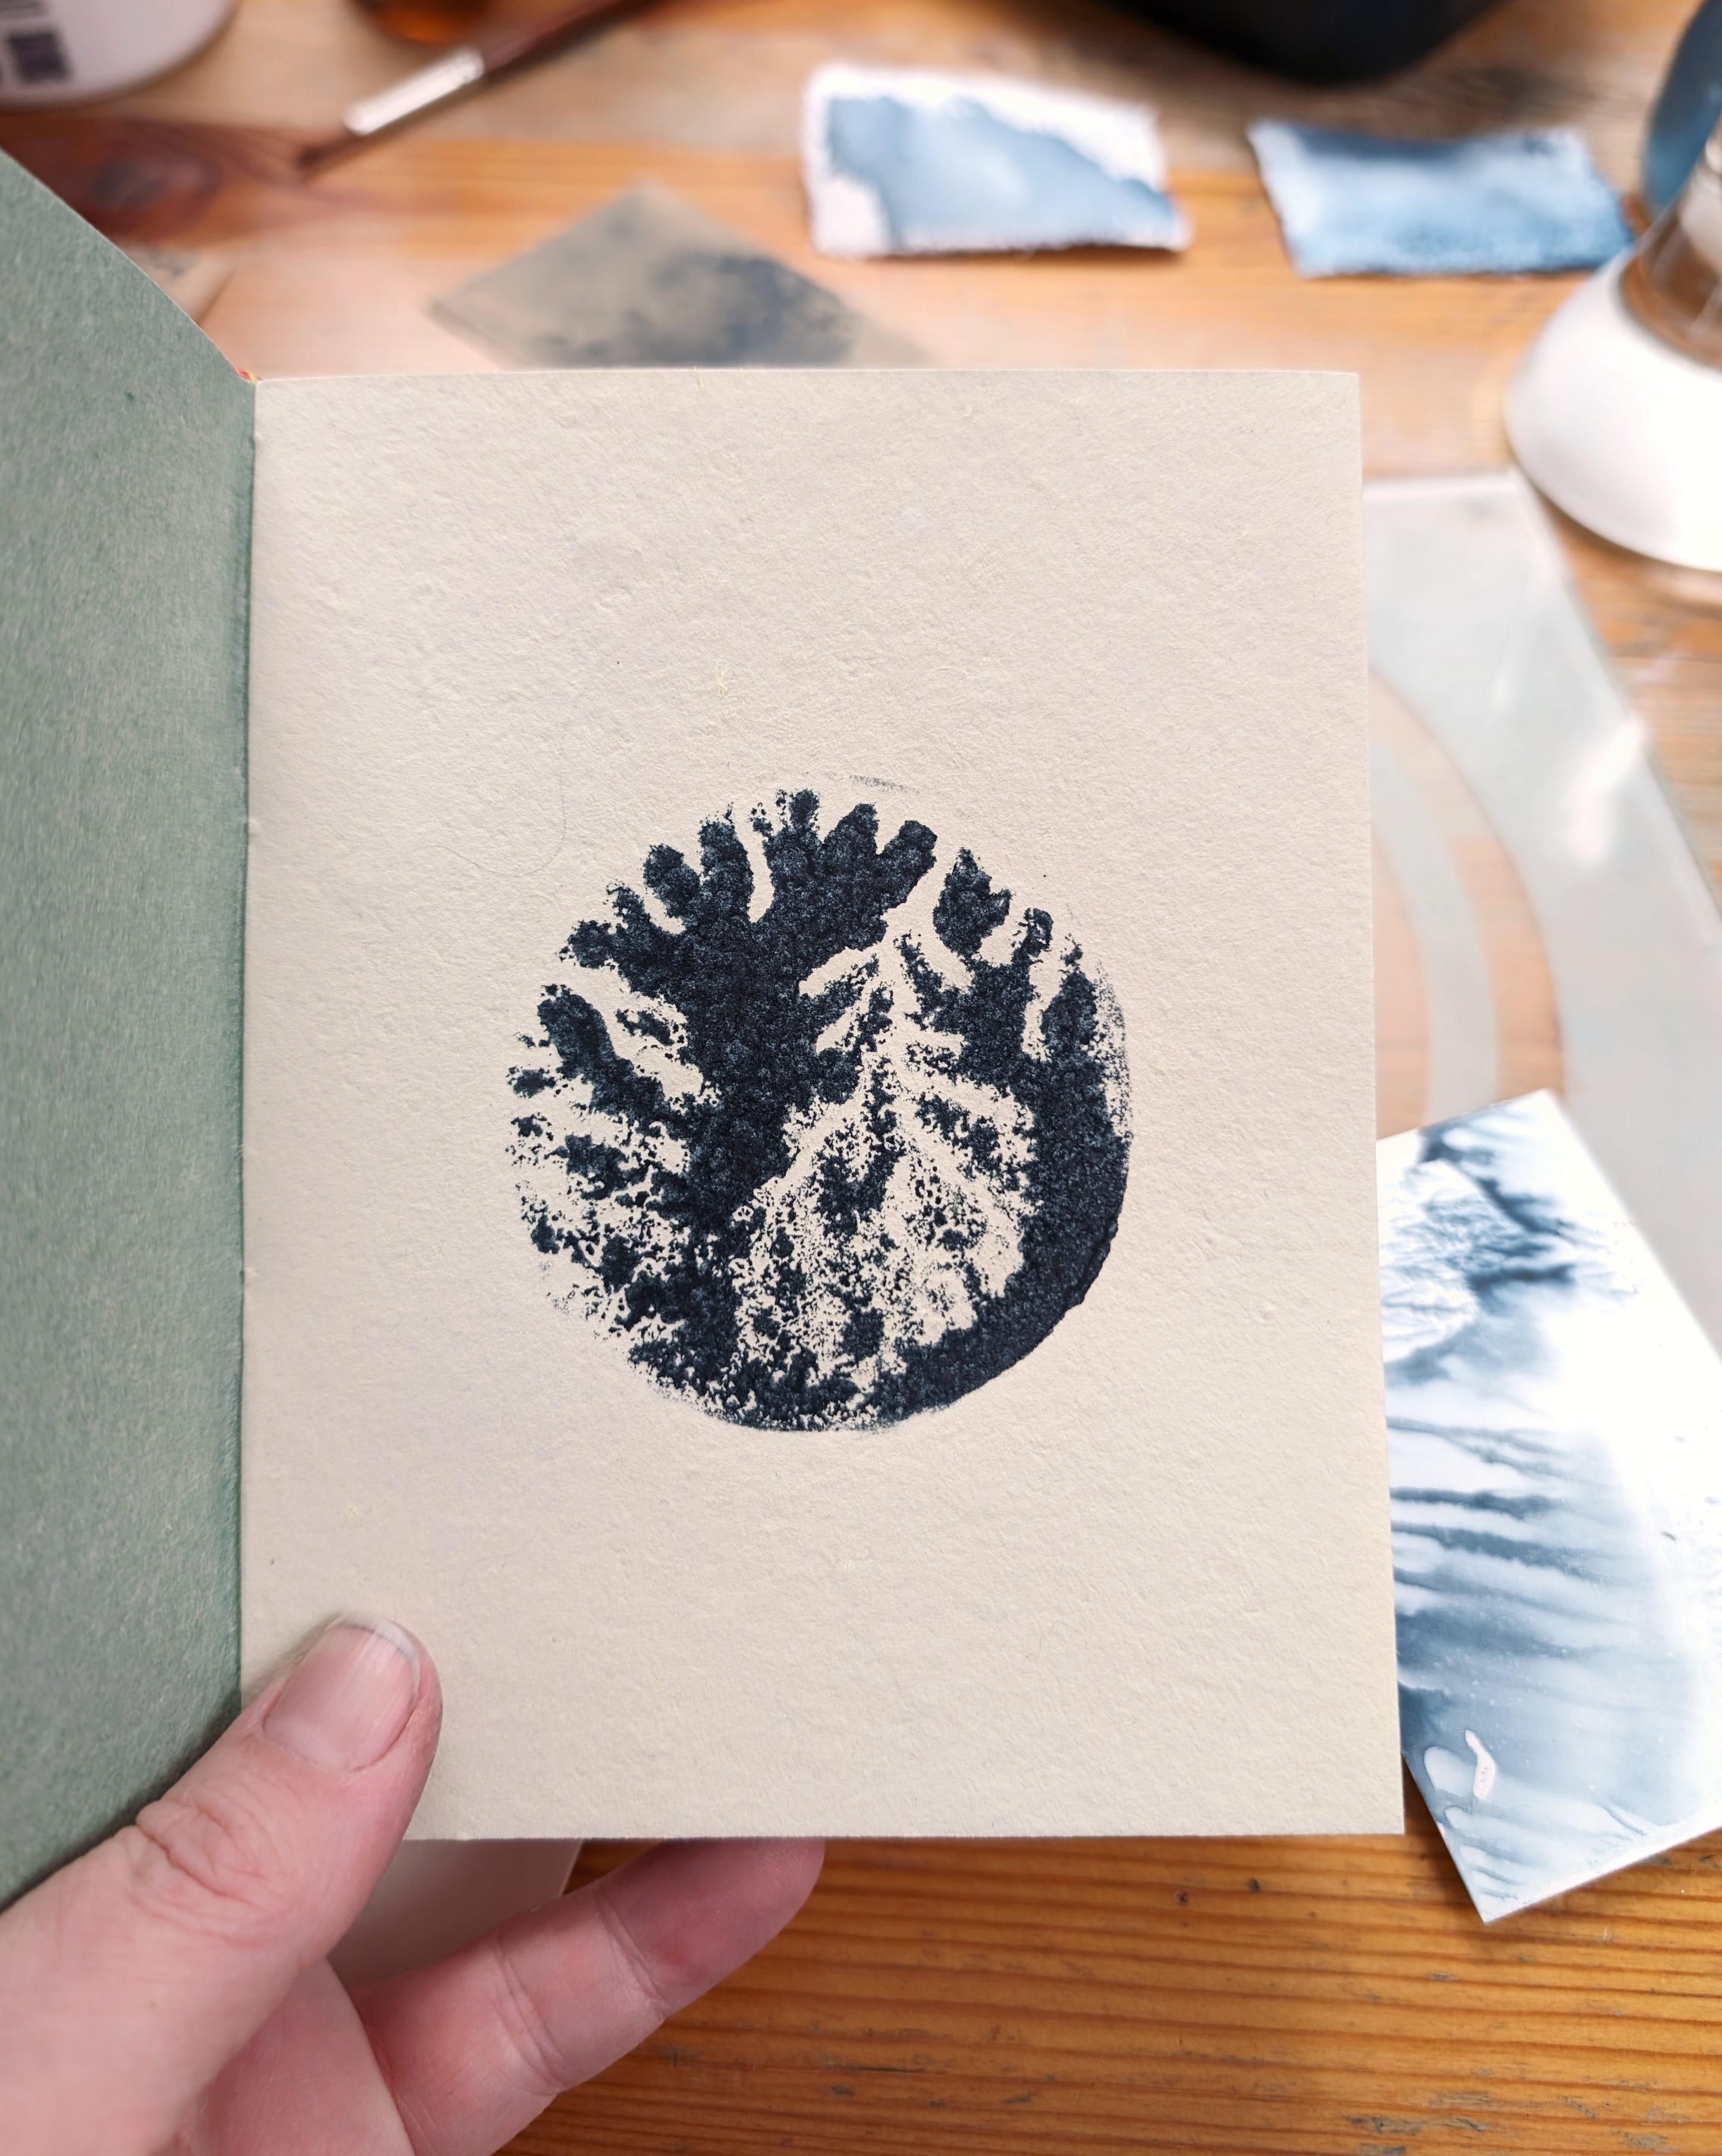
A print of my muller while making indigo paint. This paper is pretty absorbent, so the dendrides-like shapes aren’t quite as pronouced.
No glass? No problem! The folding method
If you don’t have any plexi or glass plates lying around, you can definitely still monotype and have fun!
Take a larger paper.
Mentally break it in half and add color on one side. Then fold the page on itself.
Tada! Monotype. It does work perhaps better with heavier mediums than with watercolor, but it all depends on the paper you choose. Yupo and watercolors would work very well this way.
In a book or sketchbook
Have you started playing in books yet? Simone does it quite often. For me, it is something I still struggle a little with, but I have found a few books I’m finally comfortable playing in (reader’s digest reprints mostly). There truly is something about the thin pages of a book with the text peeking that makes everything very interesting.
A few ideas to try out:
Definitely this works inside a sketchbook too.
I love using old agendas I buy on the cheap when it’s May and they don’t know what to do with them anymore.
When working in a book or sketchbook, the pages themselves become the two pieces of the monotype, the glass plate and paper. You then have two mirror halves of the same art piece.
Place another paper between the pages. You then have similar but not mirror art pieces. And you get a bonus piece of art too.
Fold a little askew. Who says the pages need to be placed “correctly”?


The top and bottom left images are the result of the monotype in the book. The bottom right image is the paper used in between these pages.
Glass-to-paper or paper-to-glass
When I do monotypes, I most often press my paper onto the plexiglass. But you can also put the plexiglass onto the wet paper. And the bonus is you see what your print will look like. You can move around the plate or stop everything depending on what you see.
Here is a little video of Simone making a wonderful monotype with this technique.
The papers
This exploration is one where it is quite fun to explore different papers with, as the results can be quite different from one to another.
The main thing you will want to pay attention to is the absorbency of your paper. A very absorbant paper means you will have to use more water if you want the colors to flow on the page. With a less absorbent paper… you might have a puddle on your hands very quickly.
Here are a few things I experienced with:
Yupo paper is great to pick up details, as it doesn’t absorb water. It is particularly fun for muller prints. It creates lots of texture when you pull off the muller (the beautiful dendrites…). If too much water is added with watercolors though, you will end up with a puddle.
Watercolor papers benefit from a little spray of water before “picking up” a monotype. But there is a sweet spot if you put very wet watercolors on the plate, you might end up with a light wash of color instead of a mosaik of colors.
Thin book pages make for wonderful textures with acrylics. And the text peeking through is often quite lovely.
“Rice papers” are very absorbant and will suck up watercolors. Also, there are two sides to these paper. Try both and see which you enjoy most.


So many possibilities, try everything and tell us all about it!
Remember to just play!
Before we let you get back to exploring, we wanted to remind you of the idea behind Paint Yourself Happy February.
Play!
Ideally, play a little most days.
We shared many inspirations, but the best ones are the ones you will find in your practice. If you don’t know where to start, start with one of the suggestions in this post. Start making art, keep an open mind and follow your ideas.
If you feel like trying something, even if it is silly, go for it. And share the silly things with us because we love trying new silly things!
Do you want even more video examples? I made a live on instragram back in 2021 where I tried a few things monotype related.
Have fun creating!
Simone and Stephanie